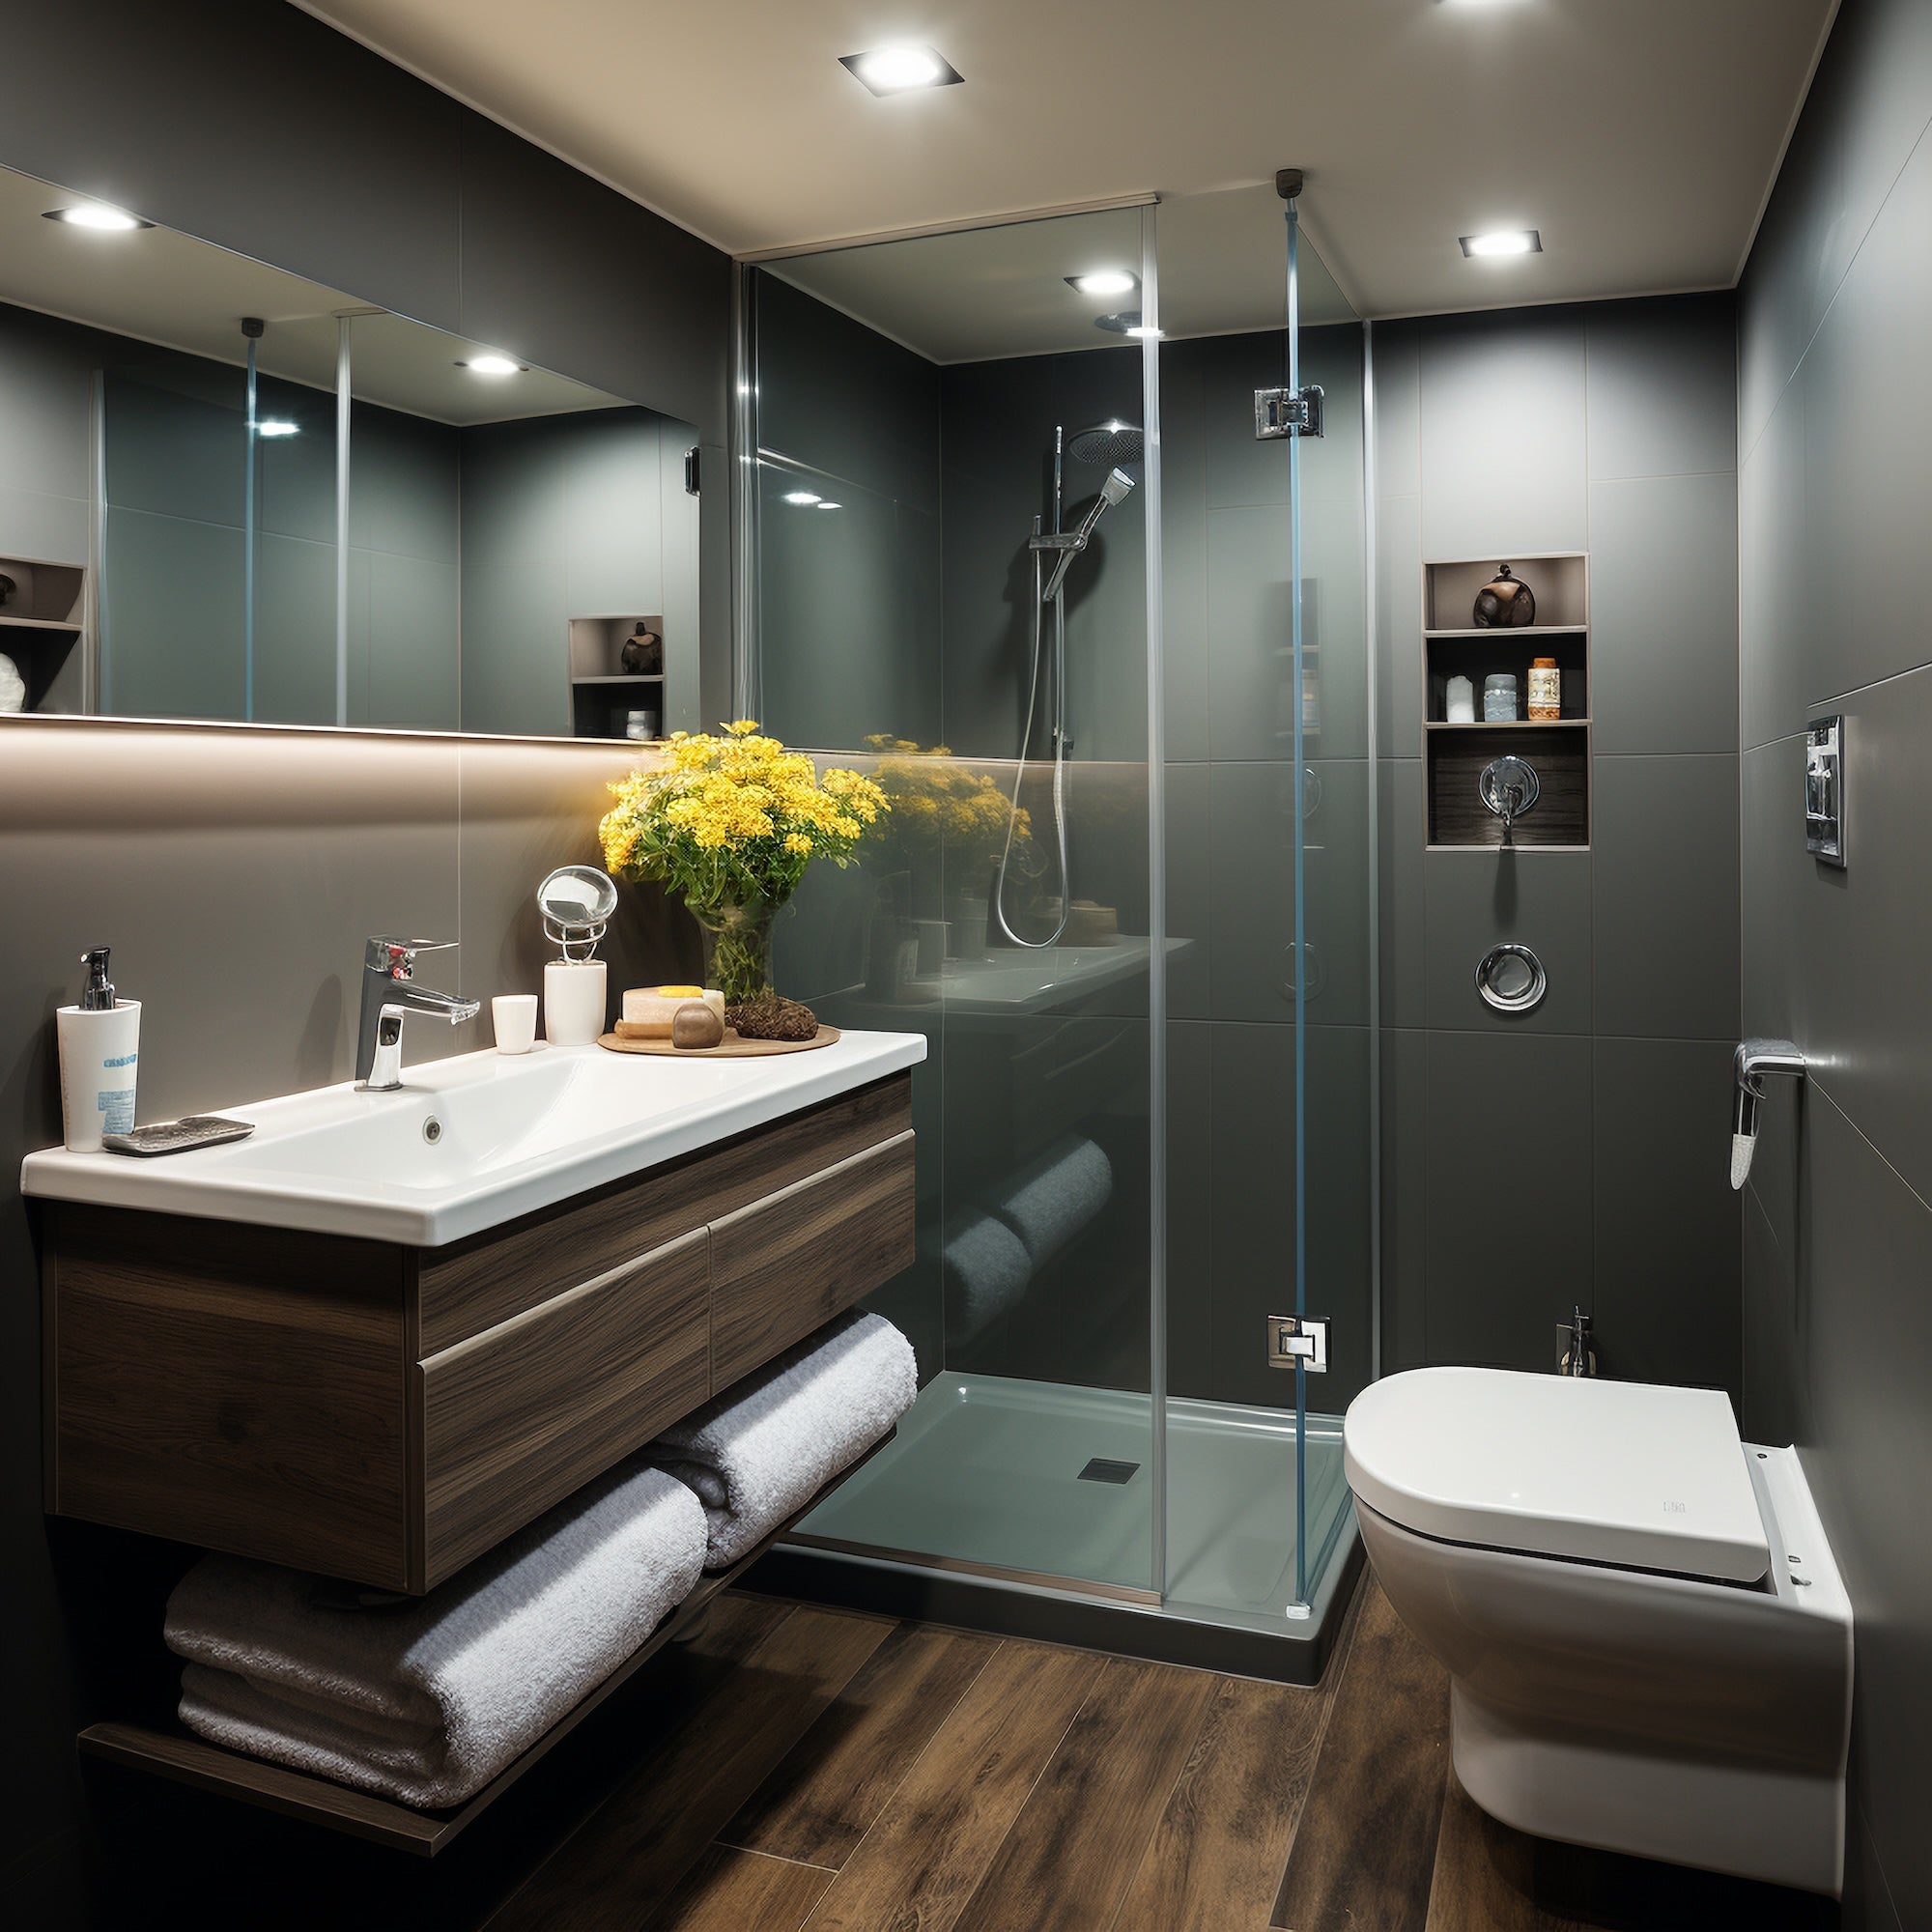
Installing Tiles without grout, or more accurately, with ultra-thin joints, has become a popular choice in contemporary bathrooms and minimalist interiors. The seamless look creates a sleek, continuous surface that highlights material textures and elevates the overall design.
But while the appearance might suggest grout-free tilework, the truth is: some type of joint is always required.
In this guide, we’ll walk through how to achieve the groutless look safely, effectively, and in compliance with installation standards to ensure both aesthetics and durability.
Why you can’t truly skip the grout
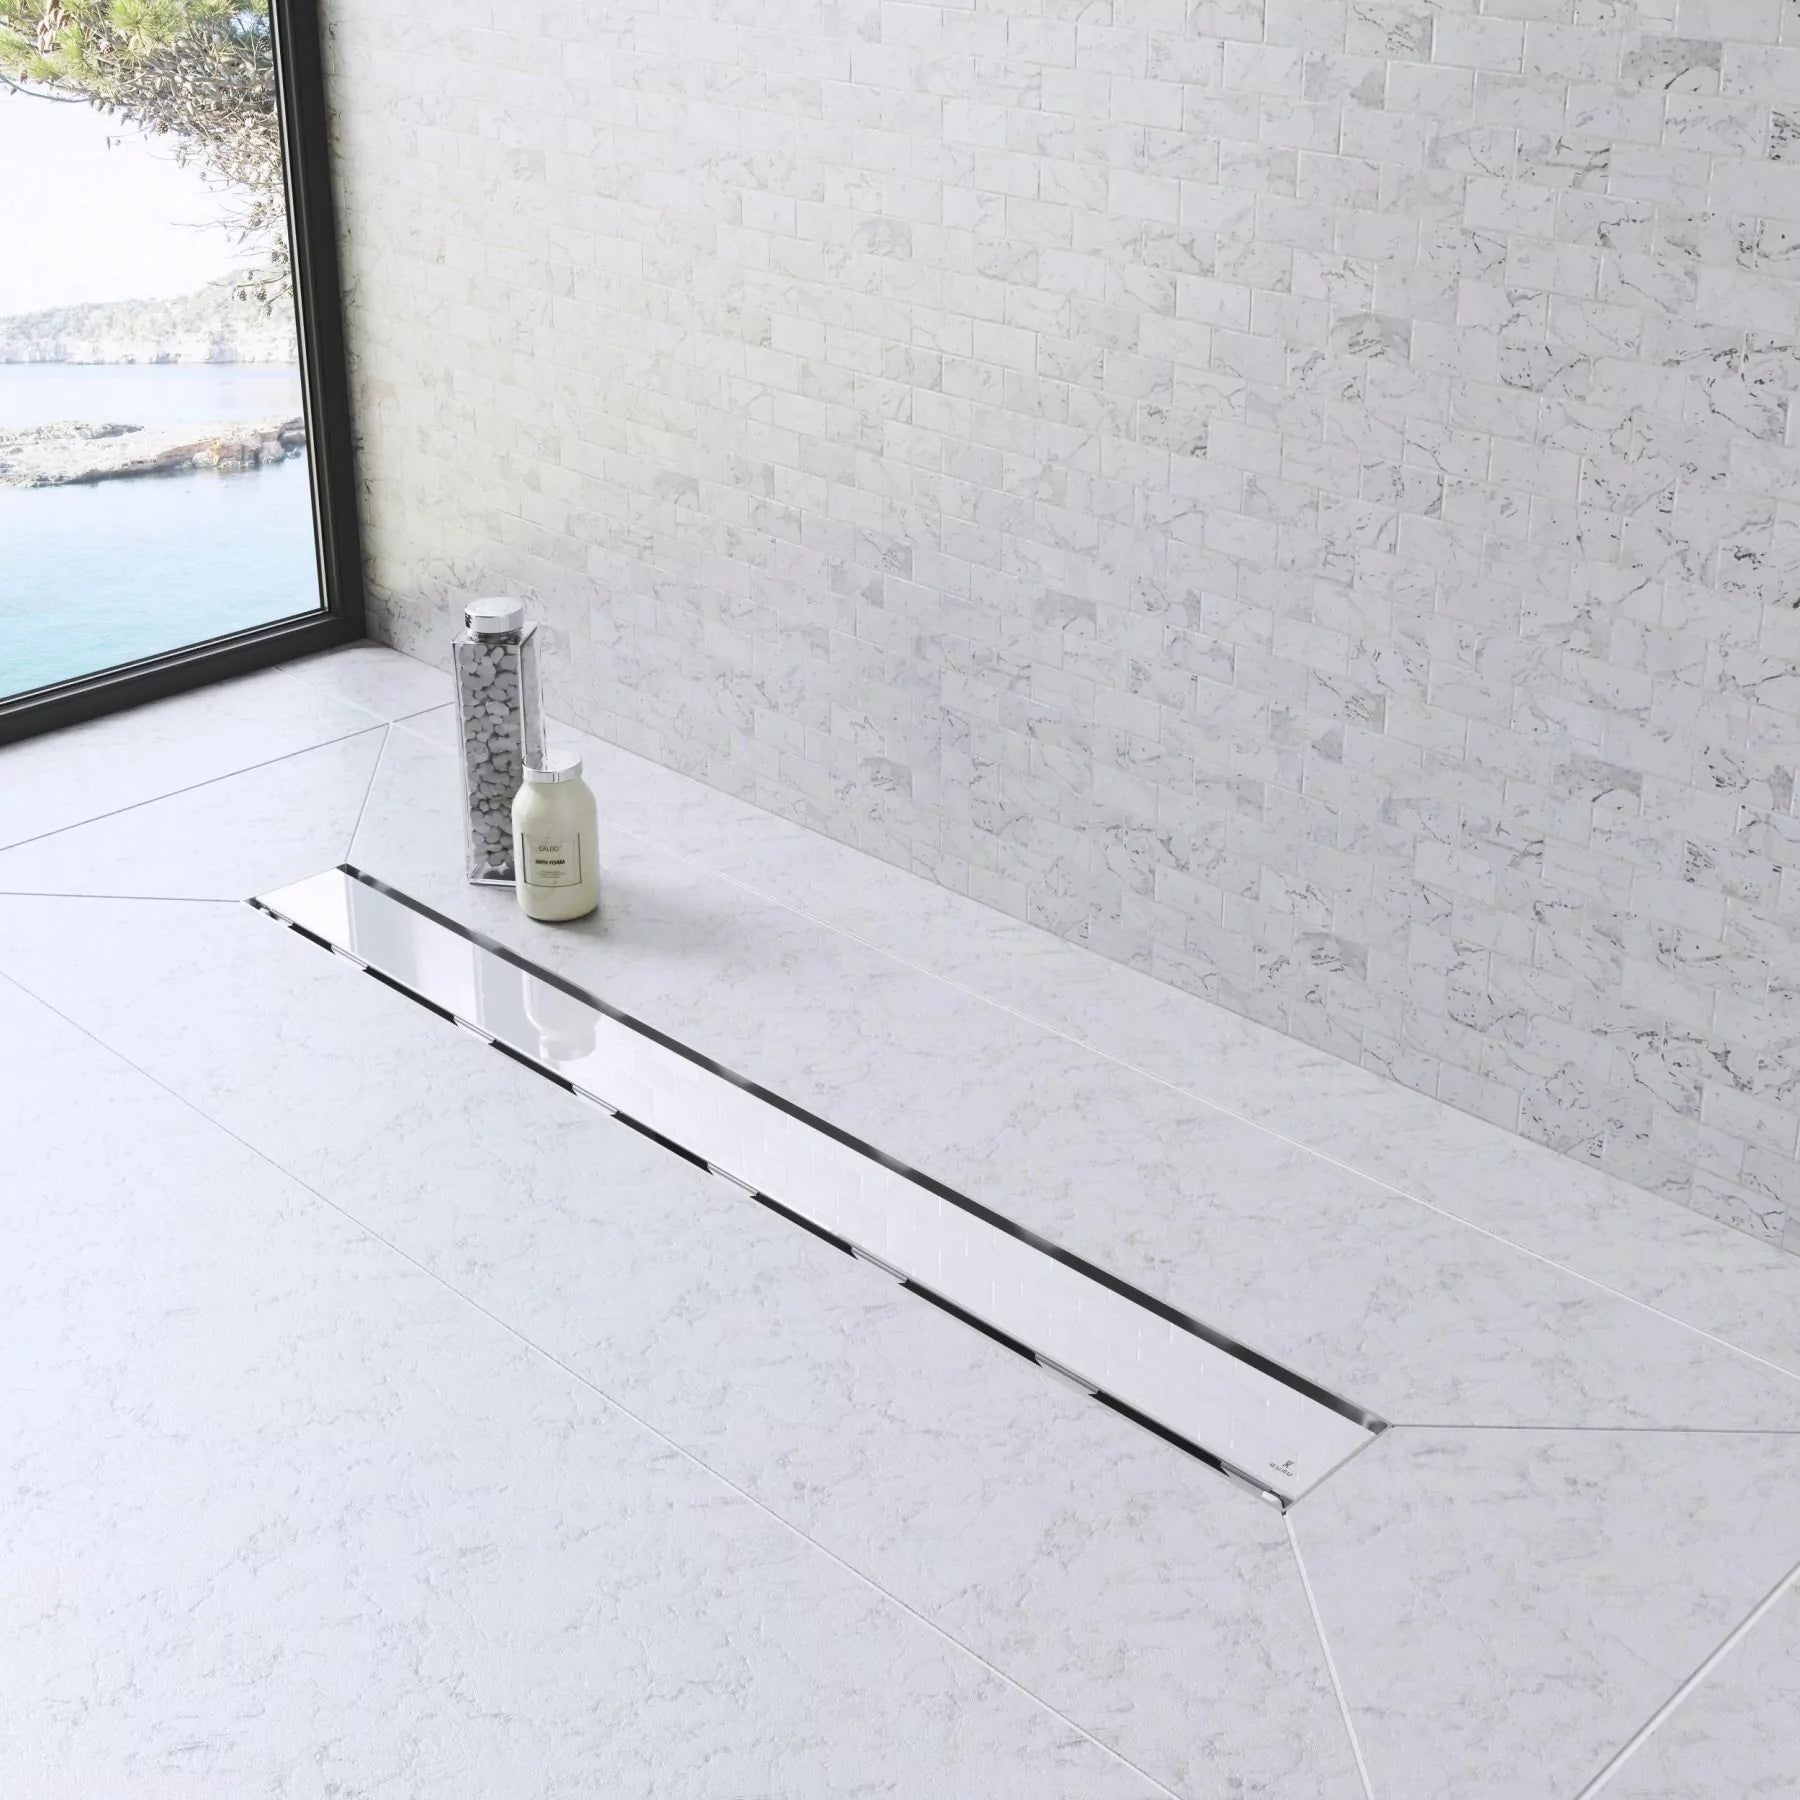
Let’s clarify: completely groutless tile installation is not recommended. Skipping grout joints entirely can lead to structural issues, cracking or water image over time. Even with rectified tiles, you still need a minimum joint (typically 1-1,5mm) to allow for expansion, leveling tolerance and waterproofing.
That said, with the right materials and construction tools, you can install tiles with nearly invisible joints, achieving that sleek modern effect without compromising performance.
How to install tiles without grout step by step (or with ultra-thin joints)
1. Choose rectified tiles
This method only works with rectified porcelain tiles, tiles that have been factory-cut to precise, straight edges. Their uniform dimensions allow tight installation with ultra-thin grout lines, making them ideal for groutless-style finishes.
But what happens if you need to cut a tile? What’s the best tool to ensure a cut that matches the sharp, factory edges of rectified porcelain?
To preserve this clean look during installation, it’s essential to use a wet tile saw with a continuous rim diamond blade. This ensures chip-free, smooth cuts that maintain the sharp, aligned edges rectified tiles are known for.
We have an article on how to cut tiles with wet saw.
2. Prepare a perfectly flat surface
To prevent lippage (height difference between tiles), your substrate must be extremely level. Use:
● A long level or aluminum screed to check surface flatness
● A self-leveling compound if needed
● A sigh-quality notched trowel for even adhesive coverage
Use High-Performance Adhesive
Select a flexible tile adhesive, preferably a deformable cement based adhesive classified as C2TE S1/S2. This ensures full tile contact, better movement absorption, and reduces the risk of tiles lifting or cracking.
Install with precision spacers and leveling systems
Even when going for a “groutless” look, tile spacers are non-negotiable.
Use:
● 1mm tile spacers for near invisible joints
● Tile leveling clips and wedges to avoid lippage and align surfaces
These systems are especially important for large-format porcelain tiles, where even minor misalignments become visible.
Grout with ultra-fine or matching colors
Once the adhesive sets, apply a fine-grain grout in a matching color to the tile. Alternatively, use epoxy or translucent sealers to create a discreet joint line. This final step maintains water resistance and prevents debris from accumulating in the joints.
Why the Groutless look requires the right tools
Achieving professional results when installing tiles without grout comes down to control, consistency and the right gear. From precision spaces and leveling systems to rectified blades and wet saws, every detail matters. Explore our full range of pro-grade tools at PlaceforPros and take your next tile project to the next level.
Join the PlaceforPros Community
At the end of every job, choosing the right partners makes a difference.
● Register now at our website to receive expert tips, inspiration and exclusive training content for tile professionals and contractors.
● Become a member of our contractors program for special conditions on all your purchases, tailored for pros who want quality, efficiency and better margins. Learn more and sign up.