How to cut tiles with a wet saw is one of the most essential skills for any tile installer aiming to deliver clean, professional finishes, especially when working with dense materials like porcelain, stone, or large-format ceramics.
While tile cutters are sufficient for basic straight cuts, a wet saw offers unmatched accuracy, smoother edges and the ability to handle more complex cuts, making it indispensable on commercial or residential job sites.
Why use a wet saw?
Before diving into how to cut tiles with a wet saw, it’s important to understand why this tool is so widely recommended. Wet saws use a diamond-encrusted blade cooled by water, which not only minimizes friction and overheating but also prevents chipping, a common problem with dry cutting methods.
As a result, they allow for precise, clean cuts even on the toughest tiles, and they significantly reduce airborne dust, improving safety on site.
Best applications for wet saw tile cutting
Professionals rely on them for:
● Diagonal or miter cuts on wall tiles
● Intricate notches around electrical outlets or plumbing
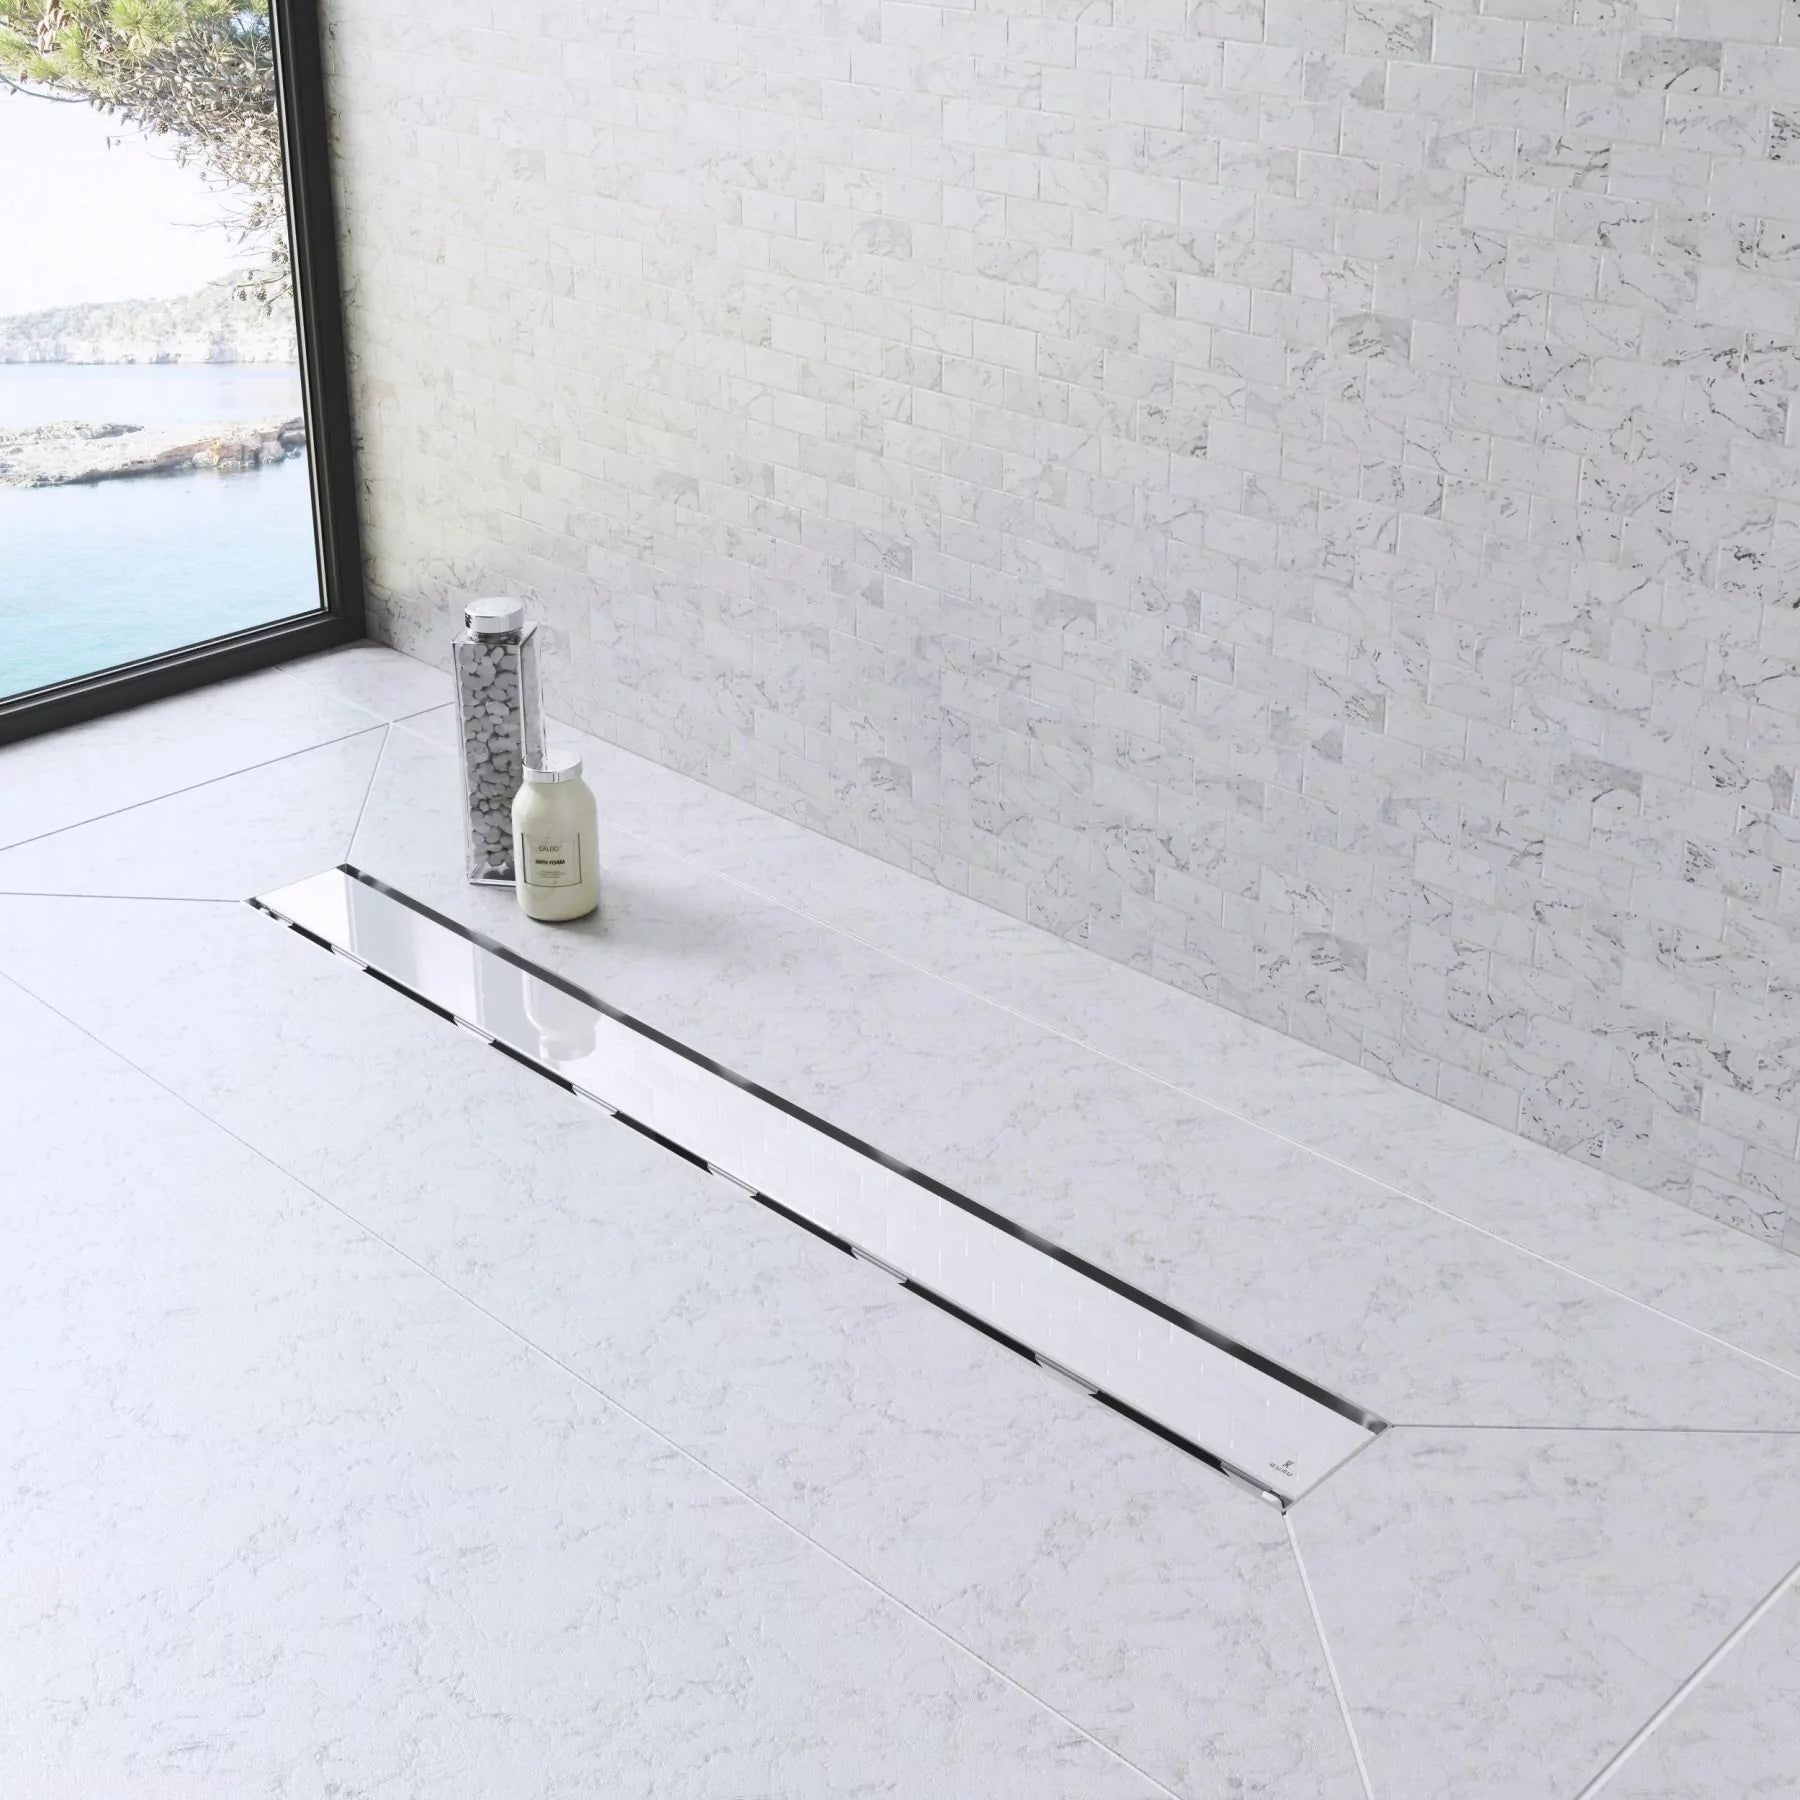
● Cutting through dense materials like porcelain, granite or marble
● Trimming tiles to fit perimeter edges or expansion joints
How to choose a Wet Tile Saw
Selecting the right wet tile saw is essential for achieving clean, accurate cuts and minimizing waste, especially when working with dense materials. Lets walk through the key factors you should consider before investing in your next wet tile saw.
Blade Type and Size
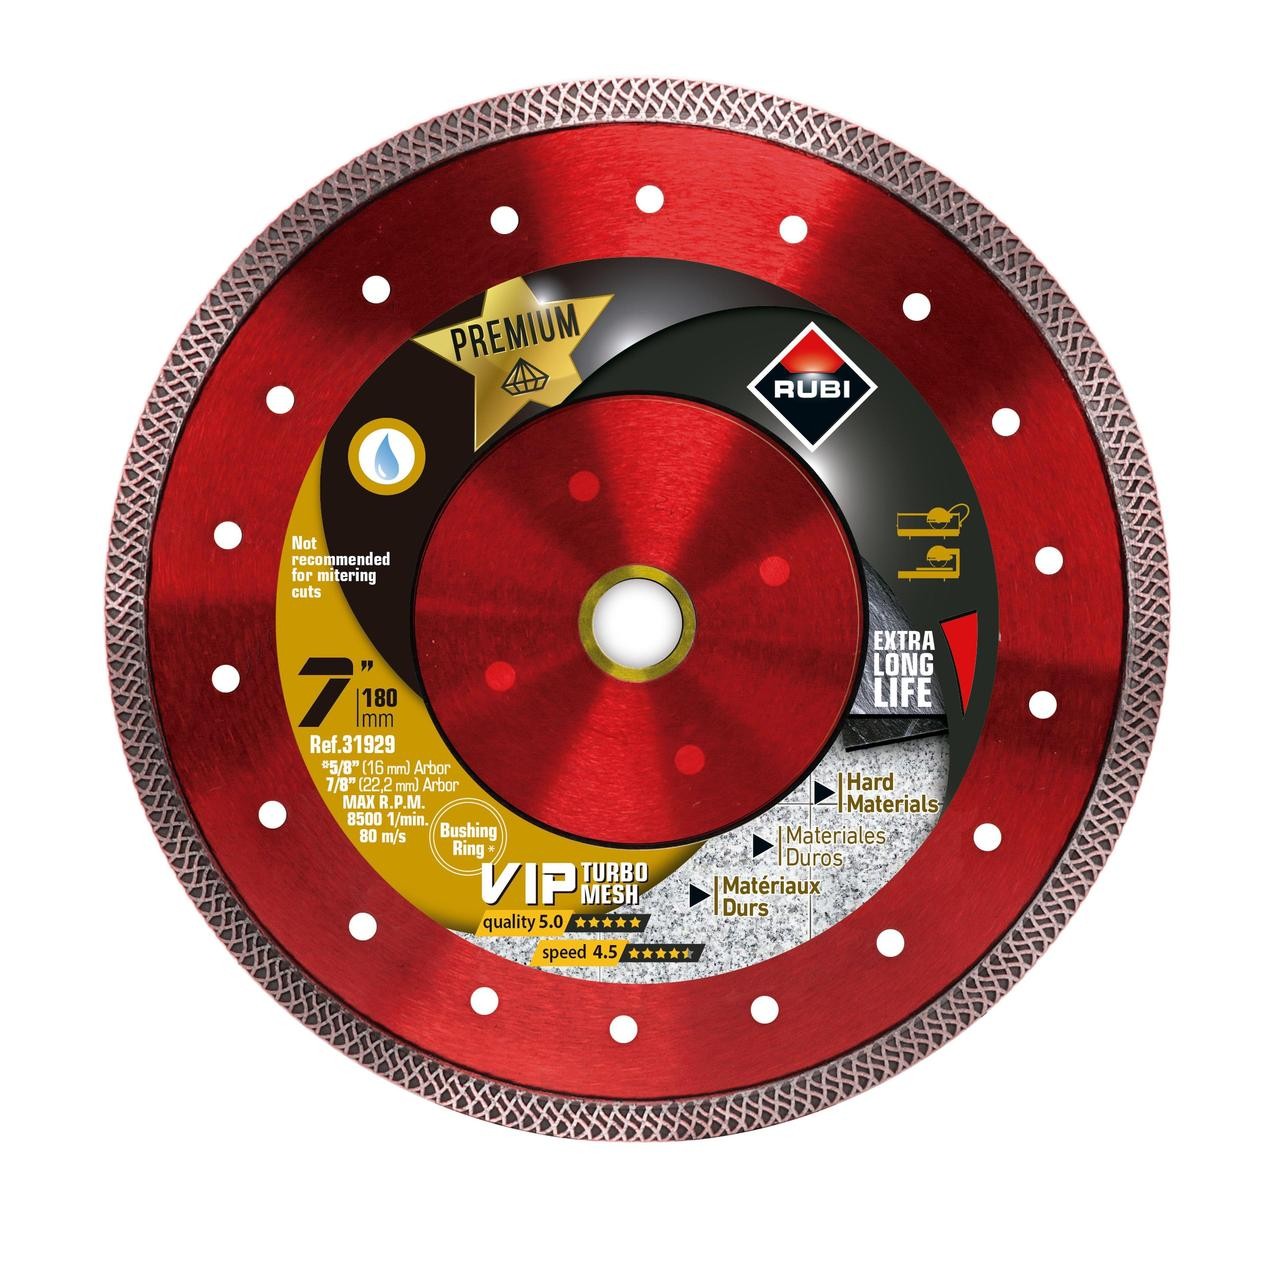
First and foremost, pay close attention to the blade diameter. Most wet tile saws are compatible with 7-inch or 10-inch diamond blades. 10 inch diamond blades offer deeper cuts and are ideal for thicker tiles and natural stone. Also, check whether the saw supports continuous rim diamond blades, as they deliver cleaner cuts with less chipping.
7 inches blades: lightweight, faster RPM, suitable for ceramic or wall tiles
10 inch blades: slower, but deeper cuts, ideal for heavy-duty applications
Motor power and cutting capacity
Assess the motor power (measured in horsepower or amps). A more powerful motor handles denser materials.
1-1.5HP (or 7-10 amp): sufficient for ceramic or residential use
1.5-2.5+HP (or 12-15 amps): Better for porcelain, stone and high-output projects
Look and the maxim rip cut length and diagonal cut capacity to determine what tile sizes your saw can handle (crucial with large-format or rectangular pieces)
Water Management system
Look for features like:
● adjustable nozzles for targeted cooling
● Large, easy to clean trays to collect runoff
● Recirculating pumps for continuous water flow
Table design and build quality
A stable, corrosion-resistant table is essential. Prioritize:
● Sliding or rail-based cutting trays for straight and smooth cuts
● Stainless steel or aluminum decks for durability
● Adjustable fences and miter guides for repeatable precision
● Anti-splash guards and rubber-coated handles also make the tool safer and more user-friendly
Portability vs Stability
Depending on the jobsite, you may prioritize:
● Portability: benchtop wet saws easy to transport, perfect for small jobs or tight spaces
● Stand-mounted or bridge saws: heavier and more stable, but ideal for high-volume tile cutting
How to cut tiles with wet saw step by step
1. Choose the Right Wet Saw.
Not all wet saws are equal. For professional use, opt for a sliding table model with adjustable rip guide and bevel cutting capabilities. It is recommended to buy tile saws with integrated water pumps and splash guards that offer greater control and cleaner workspaces.
2. Mark and Measure
Use a pencil or non-permanent marker to clearly mark the cut line on the tile. Always measure twice, accuracy at this stage is critical to reduce waste and save time.
3. Wear Protection
Wear protective eyewear, gloves and hearing protection. Never operate the saw dry (running the blade without water not only damages it but can create hazardous flying debris). Additionally, regularly check the diamond blade for wear and replace it as needed to avoid uneven or scorched cuts.
4. Adjust the wet saw settings
Before marking any cut, align the tile against the fence and check that the water reservoir is filled and functioning properly. Position the tile carefully, making sure your mark aligns with the blade path.
5. Power up and cut slowly
Turn on the saw and let the water flow across the blade. Gently feed the tile into the blade without forcing it. Applying too much pressure can cause the tile to crack or chip. Let the blade do the work: it’s designed for precision, not speed.
6. Smooth edges as needed. After the cut, you may find sharp corners or micro-chips. Use a rubbing stone or tile file to lightly smooth out imperfections and create a safer, cleaner finish.
A quick comparison between wet tile saw vs Angle Grinder vs manual tile cutter
| Feature | Wet Tile Saw | Angle Grinder | Manual Tile Cutter |
| Precision | High | Medium | Medium |
| Dust | Minimal | High | Minimal |
| Noise | Low | High | Low |
| Versatility | High | Medium | Low |
| Safety | High | Low | High |
Master every Cut
Knowing how to cut tiles with a wet saw isn’t just about powering through ceramic or stone, it’s about control, precision, and finish quality. Whether you’re trimming perimeter edges, making mitered cuts or slicing through dense porcelain, a wet tile saw provides the stability and sharpness needed to deliver professional results every time.
For professionals who take tile work seriously, visit our construction tool website. Place for Pros offers high-performance-tile saws, blades, and accessories engineered to work as hard as you do.
If you want to read more about this topic, we recommend this post:
Want Pro-Level Results and Benefits?
If you’re serious about tile work, go beyond just buying tools: join a growing community of pros who get more out of every project.
● Sign up for free at PlaceForPros and unlock access to expert resources, product updates and installation guides tailored to real tile professionals.
● Take it further by joining the Contractors Program, where you’ll enjoy exclusive conditions on your purchases, early product access, and direct support from our team.